


How to use a map and compass
Learn how to orient your map, set a compass bearing and follow the correct direction through the terrain. This guide explains the basic method step by step.
Updated September 2026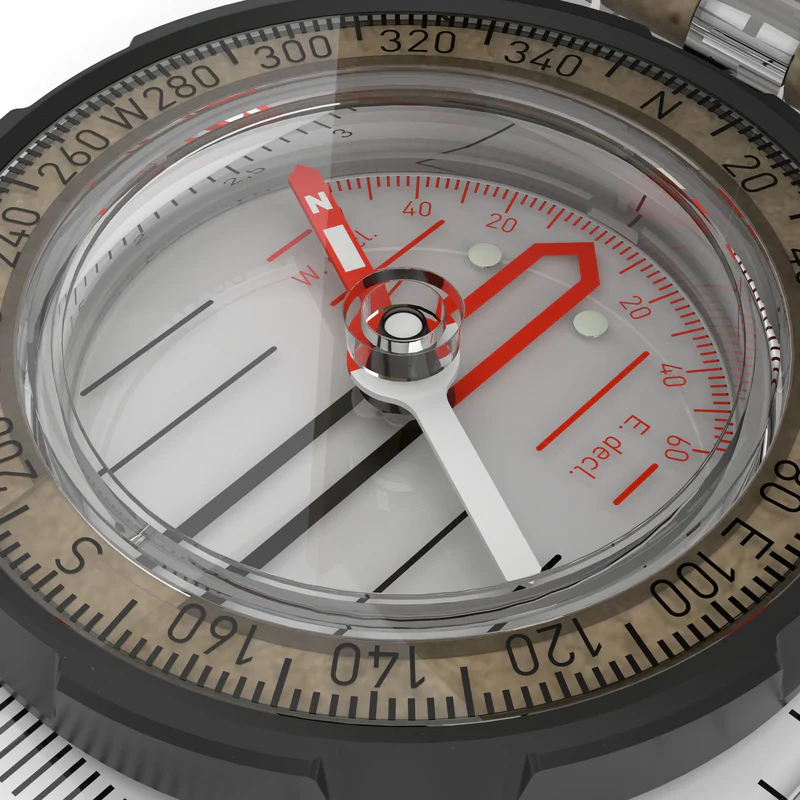
From map to direction of travel
- 1Find your start and destinationMark where you are and where you want to go.
- 2Place the compass on the mapPoint the direction-of-travel arrow from start to destination.
- 3Set the compass housingAlign its lines with the map’s north–south grid lines.
- 4Find your directionTurn until the red needle sits over the orienting arrow.
Before you begin
A baseplate compass has a transparent baseplate, a direction-of-travel arrow, a rotating compass housing and a magnetic needle. The red end of the needle points towards magnetic north when the compass is held level and allowed to settle.
It is often helpful to orient the map first. Place the compass along a north–south grid line, then rotate the map and compass together until the red end of the needle points towards north on the map. The map will then correspond more closely with the landscape around you.

Place the compass from start to destination
Find your current position and the place you want to reach. Place the long edge of the compass between the two points. The direction-of-travel arrow must point in the direction you intend to walk – from your starting point to your destination.
Remember: At this stage, ignore the direction in which the magnetic needle is pointing.

Rotate the compass housing towards map north
Keep the baseplate still. Rotate the compass housing until the orienting lines inside it are parallel with the map’s north–south grid lines. The N mark and orienting arrow must point towards north on the map – usually towards the top of the map sheet.
Common mistake: Make sure the orienting arrow is not pointing south on the map.

Turn your body and find the direction of travel
Lift the compass from the map and hold it level in front of you. Turn your whole body – not the compass housing – until the red end of the magnetic needle sits over the orienting arrow. The direction-of-travel arrow now shows the way to go.
An easy reminder: “Red in the shed” – place the red end of the needle inside the red orienting arrow.
How to follow your compass bearing
Look along the direction-of-travel arrow and choose a distinct feature in the terrain – such as a tree, a rock or another landmark in the correct direction. Walk to that point, check the compass and select another point further along the bearing.
Break longer sections into shorter legs between reliable map features such as paths, lakes, stream crossings, hills or buildings. Continue checking the map so that you maintain a good understanding of your approximate position.

What is magnetic declination?
The map’s north–south grid lines point towards grid north, while the compass needle points towards magnetic north. The angle between these directions is called magnetic declination. It varies by location and changes over time.
The difference may be minor on short walks with distinct terrain features, but you should check the local declination before long legs, in poor visibility or whenever accuracy is important. Kartverket recommends rotating the compass housing clockwise for easterly declination and anticlockwise for westerly declination. If your compass has permanent declination adjustment, follow its instructions.
Read Kartverket’s current information about magnetic declination (in Norwegian)Six common map-and-compass mistakes
- The direction-of-travel arrow points from the destination back towards the start.
- The N mark in the compass housing points south on the map.
- The compass is tilted, preventing the needle from moving freely.
- The compass is used too close to a phone, watch or metal object.
- You walk too far without checking the map, bearing and surrounding terrain.
- You wait until visibility is poor and conditions are difficult before practising.
Map and compass with Tom Stiansen
Tom Stiansen from the Norwegian television series 71° North demonstrates how to set and follow a bearing using a map and baseplate compass. The video is in Norwegian.
Practise before you need the skill
Try the method on a short walk in familiar terrain and good weather. Choose a visible destination, set the bearing and check along the way that the direction agrees with the map and landscape. Once the technique feels natural in calm conditions, it will be far easier to use when the weather changes or visibility deteriorates.
Choose a compass for the way you use your map
A simple baseplate compass is ideal for learning and everyday hikes. For more precise bearings and demanding navigation, a mirror compass may be a better choice.
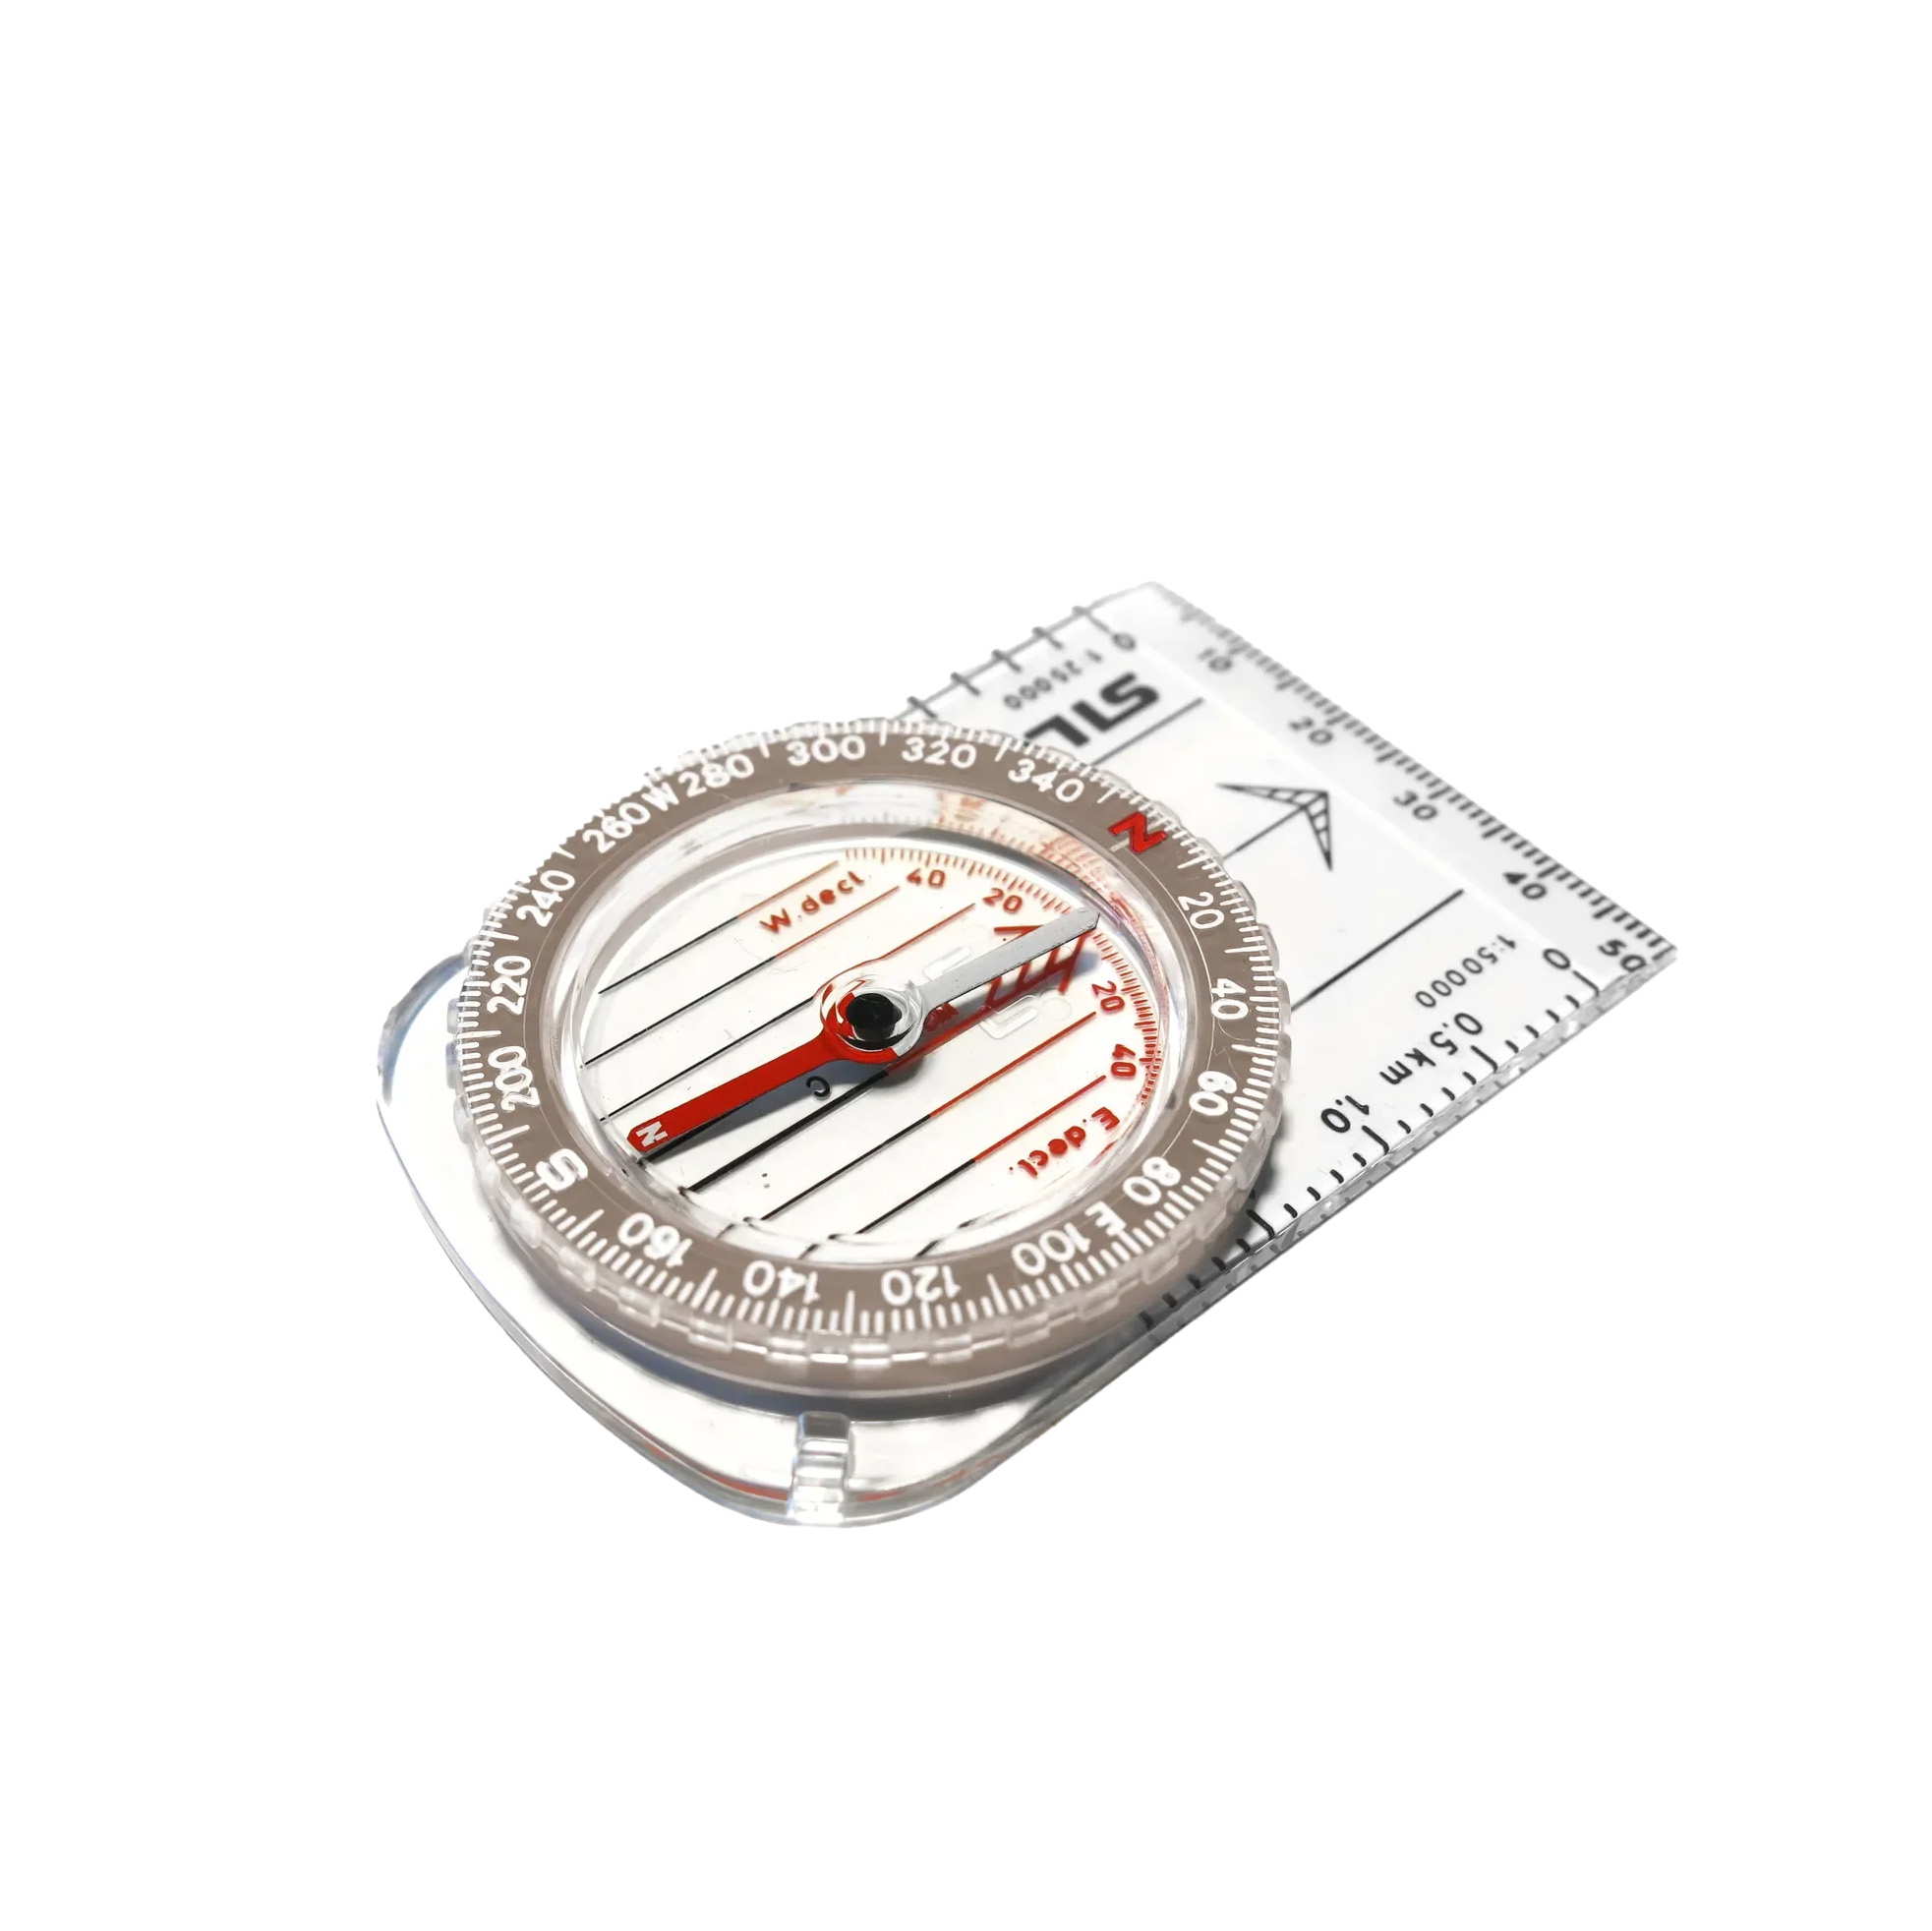 The classic first compass
A simple and reliable baseplate compass for hiking, school and scouting.
Silva Classic
View product
Recommended
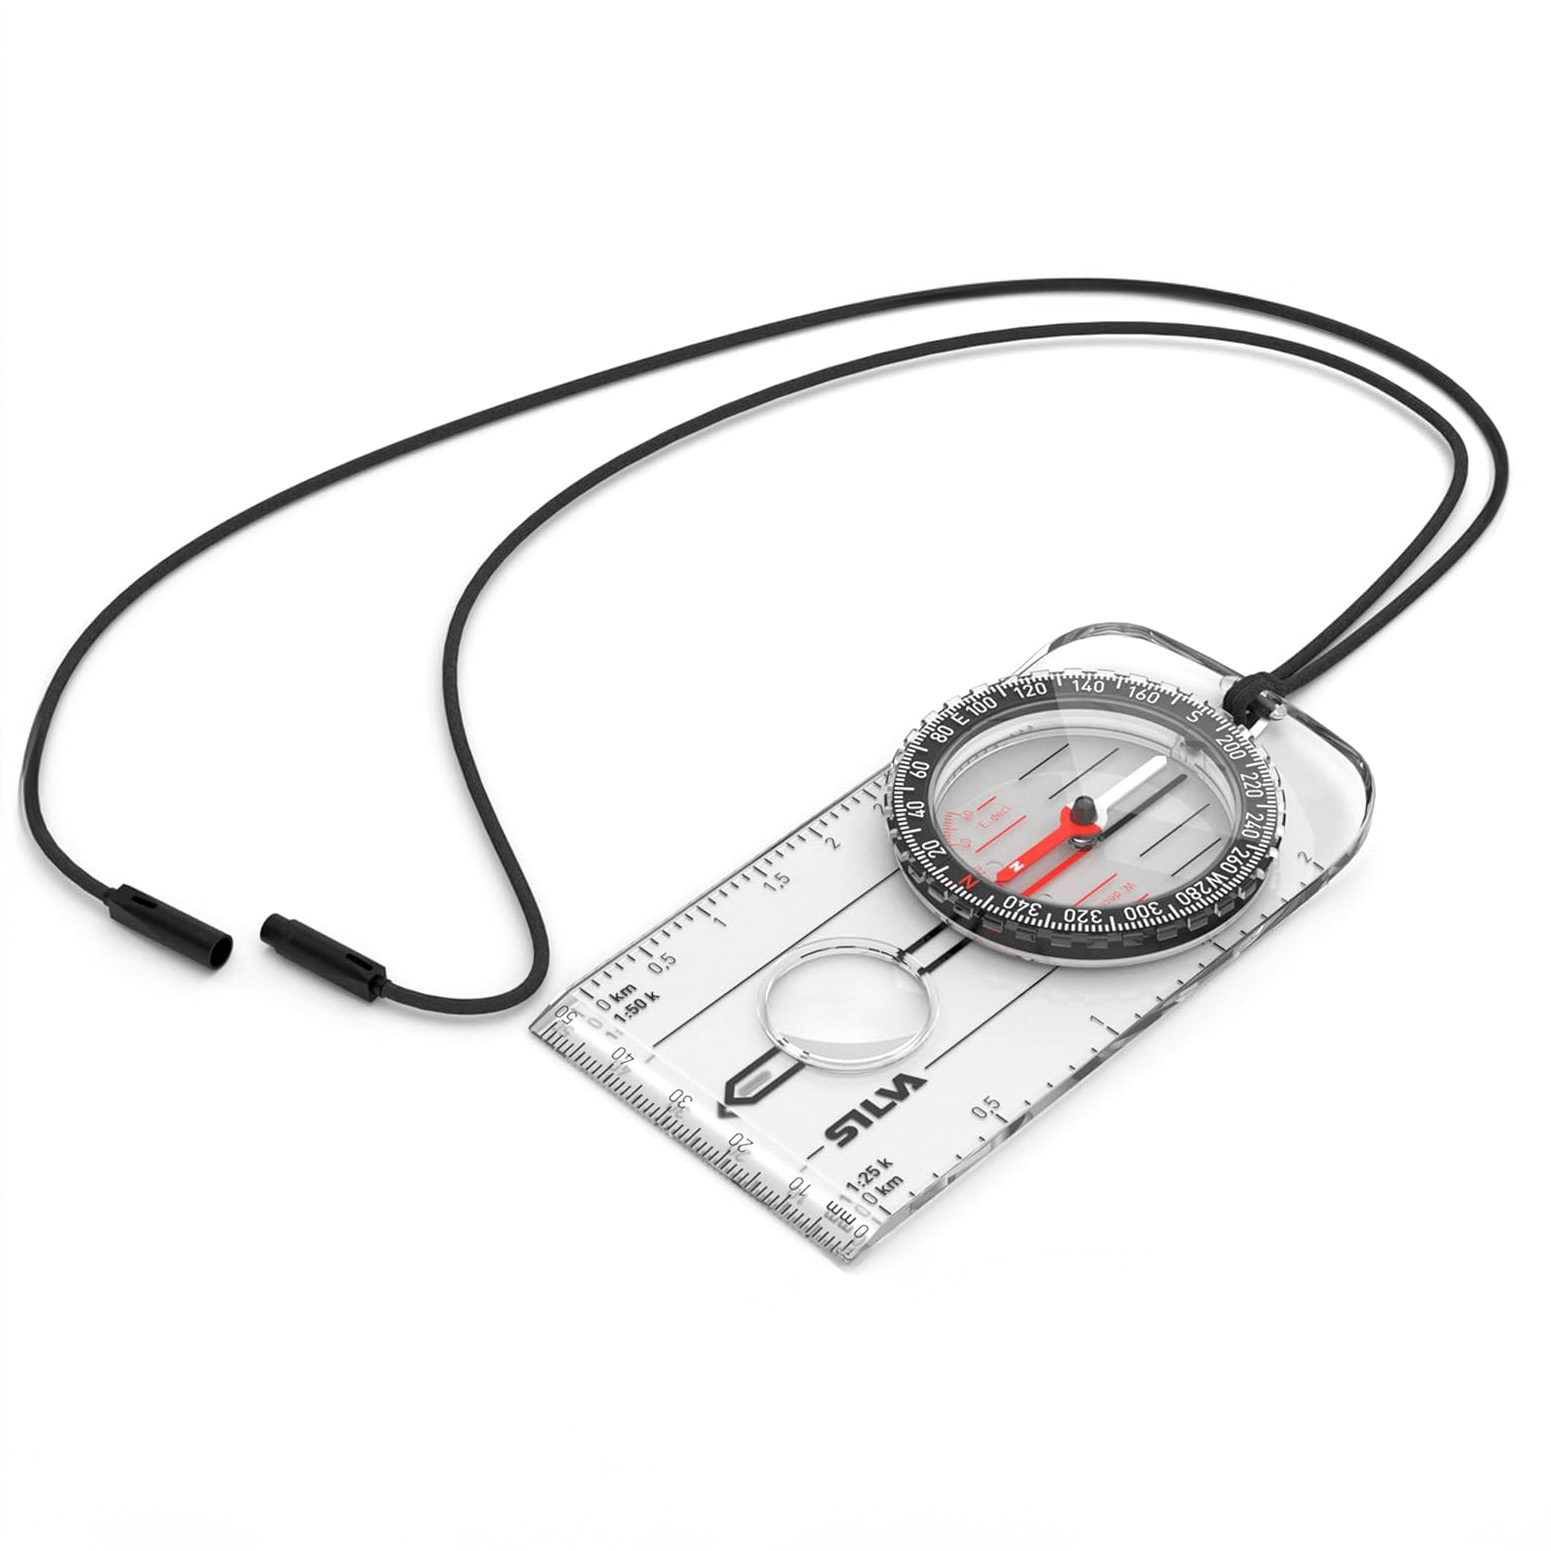 Hiking compass for active use
Map scales, a magnifying lens and safety lanyard. A versatile choice for most hikers.
Silva Ranger
View product
Mirror compass
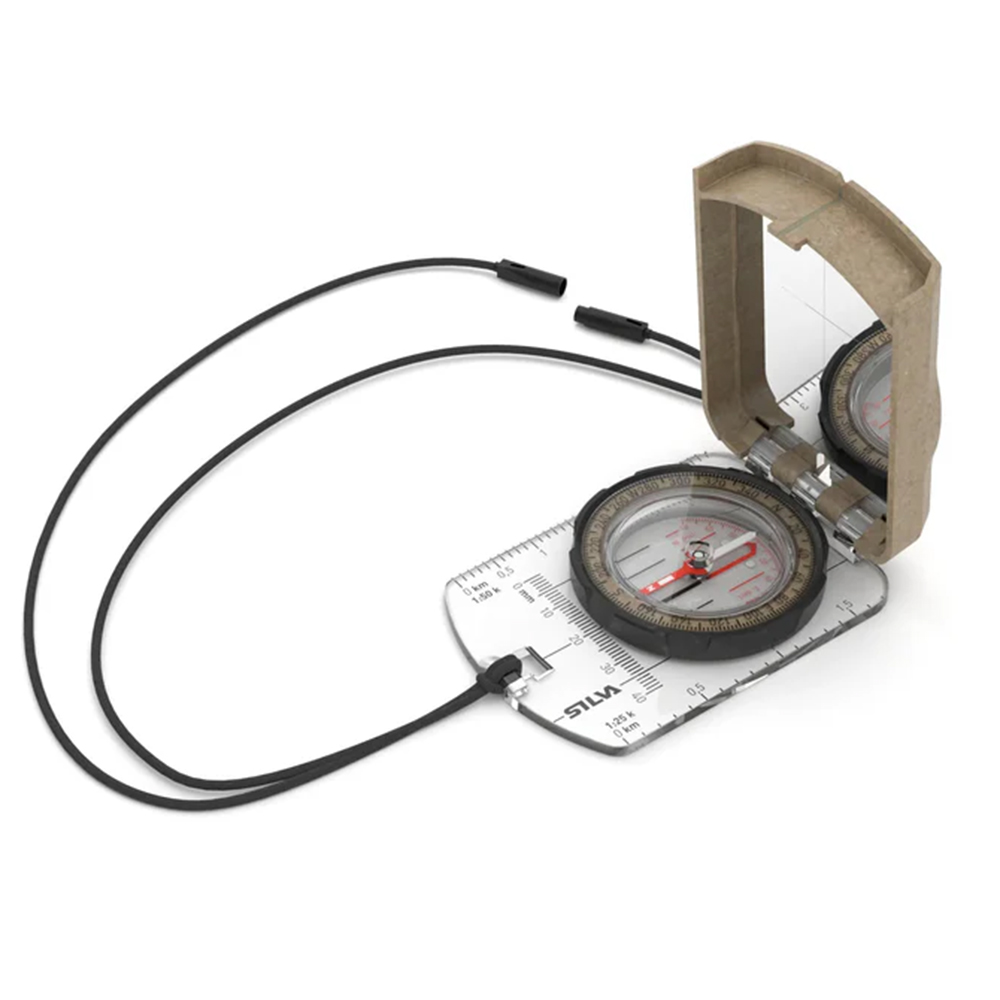 Mirror compass for precise bearings
For more accurate bearings and active map navigation in the terrain.
Silva Terra Ranger S
View product
Top model
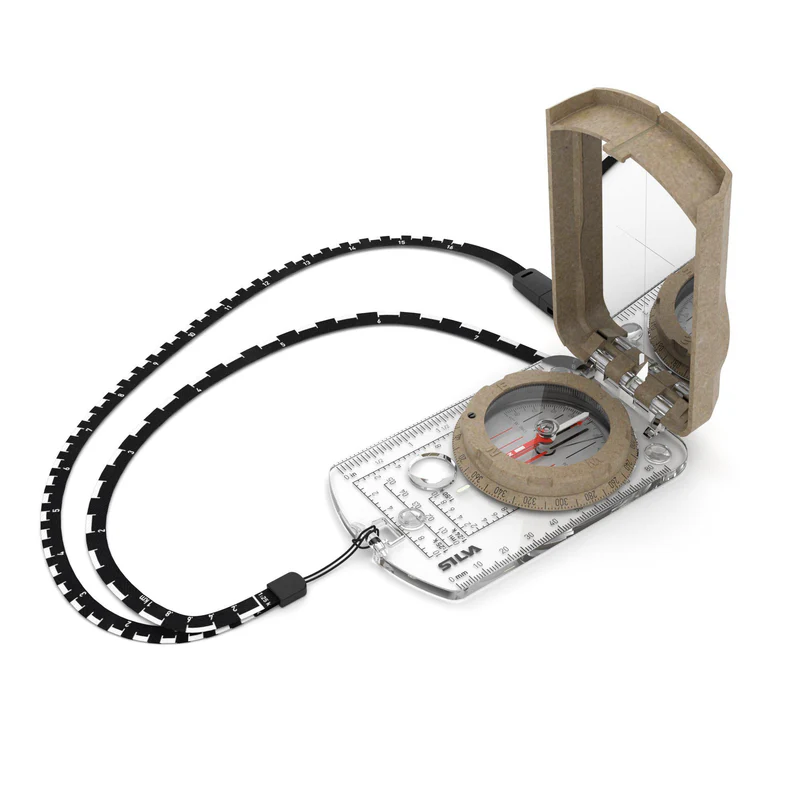 For demanding navigation
An advanced mirror compass with declination adjustment and precision features.
Silva Terra Expedition S
View product
Source and technical basis: Kartverket – Learn to use a map and compass (in Norwegian). This guide provides a basic introduction and should be combined with practical training.